How to Migrate WooCommerce to Shopify
Summary
Shopify is an out of the box SaaS tool that allows you to quickly and easily create an online store. It provides you with several templates that can be customized to meet your requirements. One of the key factors behind using Shopify is that users without much knowledge of technical or design skills can create a store without hiring a designing agency or a web developer.
Shopify is highly customizable so for advanced customization, you can hire Shopify developer and get an appealing custom made E-store. Moreover, Shopify has auxiliary apps available for you to assist in the complete eCommerce process from inventory management to customer management. It allows entrepreneurs to concentrate on their business and not on the technical side of the website and shopping management.
Migrating from WooCommerce to Shopify is a fairly complex process and has a lot of work included in it. Here we will acquaint you with the step by step process of conducting successful online store transportation from WooCommerce SaaS platform to Shopify.
When you migrate your store from WooCommerce to Shopify, you can import your existing product and customer data to Shopify. Before you import your data to Shopify, you need to export your data from WooCommerce.
Export your store data from WooCommerce
Before you import your existing store data, you need to export your data from your WooCommerce store. When your export is completed, you will have an XML file saved on your computer that you can use to import your data to Shopify.
Steps:
- From your WooCommerce admin, click Tools > Export.
- Select All content.
- Click Download Export File.
Import your store data to Shopify
After you export your store data from WooCommerce, you need to import your data to Shopify.
Note
To complete your import, you need to have Shopify's importer tool installed.
Steps:
- From the Import store app in Shopify, go to Select your platform > Import from WooCommerce.
- Click Add file.
- Select your WooCommerce XML file that you downloaded.
- Click Import.
- Review your import.
Delete a store data import
If you’re unsatisfied with a data import, then you can delete it. For example, if your data import contains many failed items, then it might be helpful to remove that import and try again. You can delete only your latest import, and need to wait for the data to delete completely before you start another import.
Steps
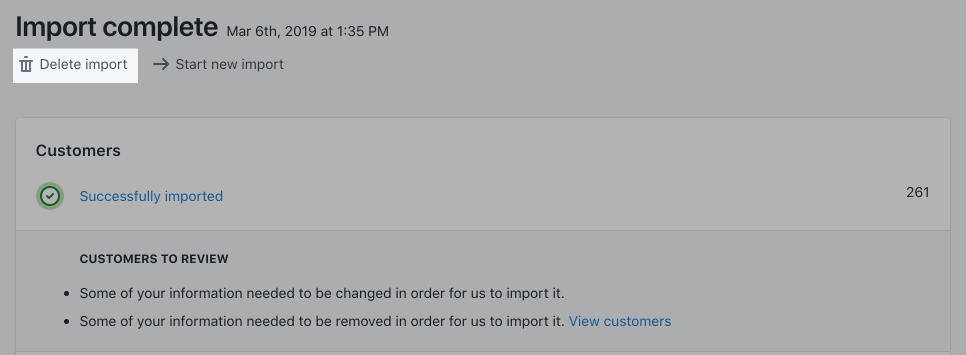
On the Import complete page, click Delete import.

- On the Delete import dialog, click Delete import.
After all your imported files are deleted, click Start new import to start another import.
Review and update your imported data
If your data import was successful, then you should see your product and customer data in your Shopify admin. If some of your products or customers did not import, then you can add them manually. You can add a product or add a customer manually after your data import.
Note
You might encounter errors with your CSV import. Learn more about solutions to common product CSV import problems.
Import was successful with changes
When your import is finished, the import summary page shows you the details of your import. If some of your products or customers were imported with changes, then you see specific error messages in the Products to review section of the import summary. You can edit your products and customers manually by clicking View items next to these messages.
Products imported successfully but are not published
If your product visibility was set to hidden in WooCommerce, then your product is not available for purchase on your store. You can make your products available by making them available to a sales channel.
Imported products no longer have their dimensions
If your customers need the dimensions of your product, then add the dimensions directly to the product description.
Some products or customers failed to import
If some of your products or customers did not import, then you can add a product or add a customer manually.
Any customers with the same email address or phone number is skipped during an import. Only the most recent customer entry with the duplicated data is imported.
Bundled products failed to import
If any of your products are bundled on WooCommerce, then you need to add these products to Shopify manually. You need to use an app to bundle products. You can install a product bundle app from the Shopify App Store.
Digital products imported successfully but are not published
If your product is a digital download, then your product is not published on your store. You need to use an app to sell digital products. You can install the Digital Downloads app to make your products available on your store.
Product variants failed to import
If your product has variants, and one of the variants is missing an option, then the product is not imported. You need to add this product to Shopify manually. For example, if you are selling T-shirts with the options of size and color and one of your variants includes an option for size but not color, then your product is not imported.
URL Redirects
It is important to properly set the URL Redirects so all the URLs from old website map to new website otherwise if a user is coming from an old referrall lin or through Google then they will see a broken link.
Setup your URL redirects at
Create a URL redirect
Steps:
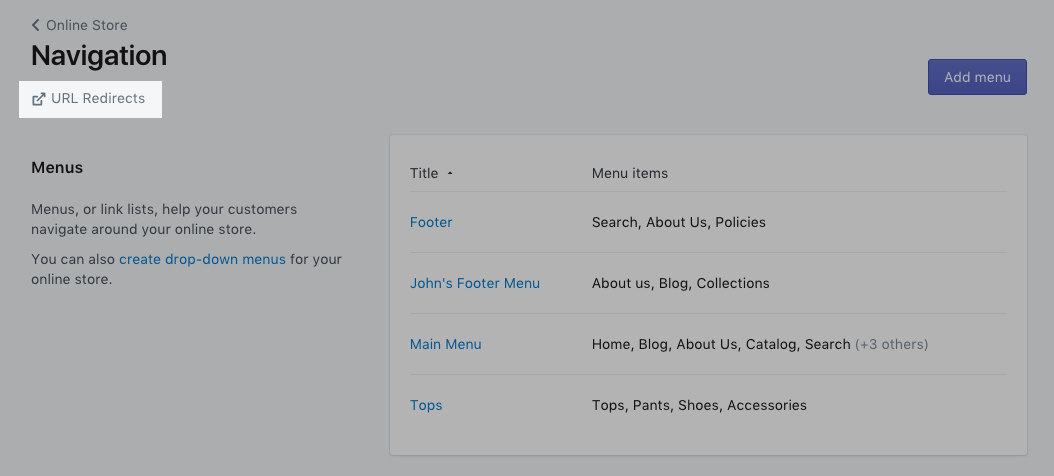
- From your Shopify admin, go to Online Store > Navigation.
- Click URL Redirects:

- Click Add URL redirect.
- In Redirect from, enter the old URL you want to redirect visitors from. Only broken URLs should be redirected. If the old URL still loads a webpage, the URL redirect won't work.
In Redirect to, enter the new URL that you want to redirect visitors to. If you want to redirect to your store's home page, then enter /.
Click Add.
